As an iPhone user, you’re probably taking a lot of photos. Whether it’s selfies, group shots, or landscapes, it can be tough to keep track of them all. And if you’re not careful, those photos can quickly become disorganized and hard to find. Luckily, there are some great ways to organize your photos on your iPhone.
In this article, we’ll show you how to organize your photos on your iPhone using the built-in Photos app. Besides that, we will give you some tips for keeping your photo collection neat and tidy. So let’s get started.
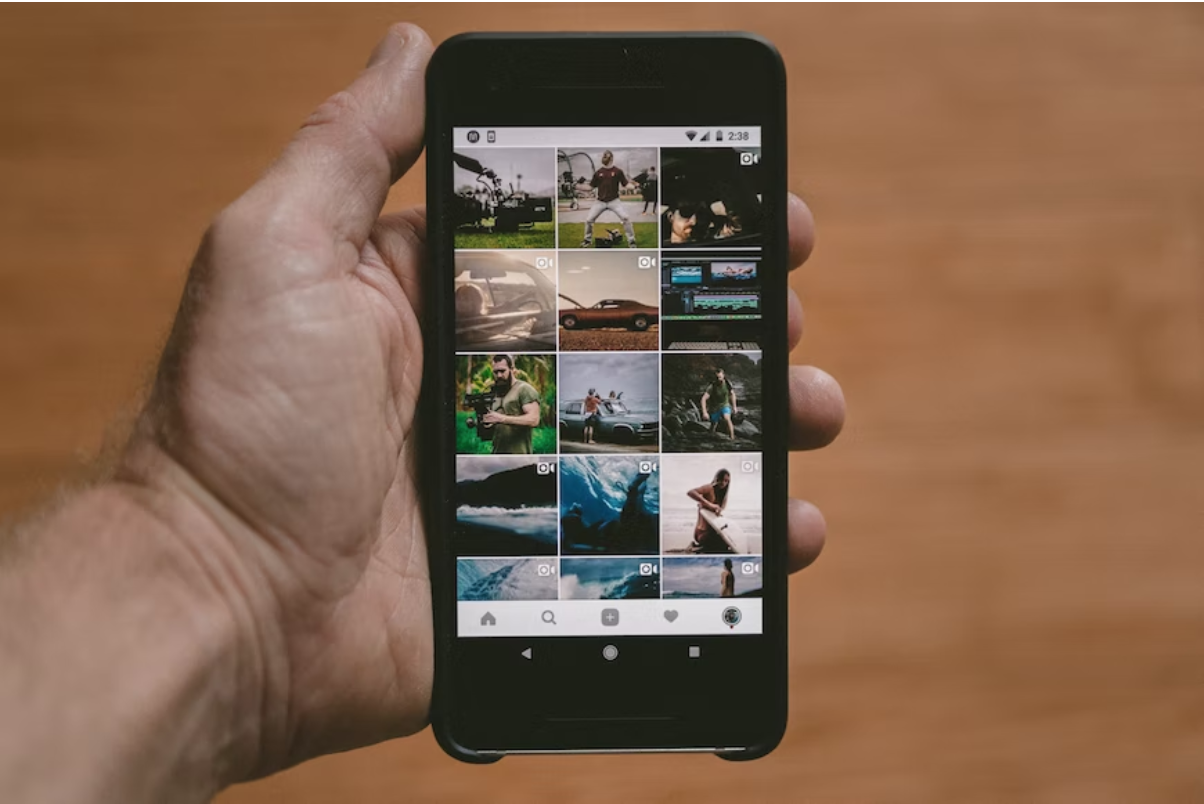
Organizing Your Photos on iPhone
When you first open the Photos app, you’ll see all of the photos and videos that are stored on your iPhone. You can browse through these photos and videos and even view them in a slideshow. Apart from organizing the photos, one key trick to finding your photos quickly is by regularly deleting unnecessary and duplicated photos.
Many of us tend to hold on to photos and screenshots for later use, but never go back to them. Hence, filtering out unwanted items in your photos app will help you stay organized. And if you delete a photo or video accidentally and wonder how do I find deleted photos on my iPhone, you can do it easily through the “Recently Deleted” folder in the photos app.
There are four ways to sort and organize your photos using the photos app on your iPhone:
- The “Albums” tab
- The “Library” tab
- The “For You” tab
- The “Search” tab
Below, we take a closer look at how to use these features on your iPhone.
Albums
If you want to be able to find specific photos more easily, you can create albums. To do this, tap on the “+” sign in the top-left corner of the screen. Then, select “New Album” from the menu that appears.
Give your album a name, and then tap “Save.” Now, you can add photos to this album by tapping on the “+” sign again and selecting “Add to Album.” Choose the album that you want to add the photo to, and then tap “Add.”
You can also delete photos from your album by tapping on the photo that you want to delete and then tapping on the “Trash” icon.
If you have a lot of photos, you may want to create multiple albums or use tags to help you organize them. By taking some time to organize your photos, you’ll be able to find the ones that you’re looking for more easily.
Library
 Another way of organizing and finding your photos on your iPhone is using the library tab. This feature lets you sort your photos by year, month, days, and all photos. This can be helpful if you want to find a specific photo from a certain time period.
To access the library tab, tap on the library icon in the bottom-left corner of the screen. From here, you can browse through your photos by year, month, or day by selecting them from the sandwich icon( three dots on the top-right corner of the screen). Or, you can view all of your photos at once by tapping on “All Photos.”
Organizing your photos doesn’t have to be difficult. By using albums, tags, or the library tab, you can easily find the photos that you’re looking for.
For You
You can also sort your photos through the “For You” tab, right beside the library icon. The “For You” tab contains Memories, Shared Albums, and People & Places.
Memories are albums that are automatically created by the iPhone based on time, location, people, or events. To view these memories, simply tap on the “For You” tab and then select “Memories.”
Shared Albums are albums that you can share with other people. To create a Shared Album, tap on the “+” sign in the top-left corner of the screen and then select “New Shared Album.” Give your Shared Album a name and then invite people to contribute to it by tapping on the “Invite People” button.
People & Places is a feature that lets you see all of the photos that have been tagged with a specific person or location. To view this, tap on the “For You” tab and then select “People & Places.” From here, you can browse through all of the photos that have been tagged with a specific person or location.
Search
The photo app uses AI to categorize photos according to people, places, events, or things. This gives another fantastic way to browse through your photos and find exactly what you are looking for.
To do this, simply tap the search bar on the top of the screen. Type in what you are looking for, whether it is a person’s name, location, or even just a type of photo. The photo app will then show you all of the photos that match your search.
For example, if you type in “beach,” the photo app will show you all photos that are tagged with the beach location. This is a great way to quickly find and view all of your beach photos at once.
Last Few Words
 Organizing your photos doesn’t have to be difficult. By using albums, for you, library, or the search feature, you can easily find the photos that you’re looking for. So, if you were wondering how to organize photos on an iPhone, these tips will help you keep your photos organized and accessible.